Showing posts with label tim holtz. Show all posts

Thursday, 9 April 2015

Forgotten Meadows: Lilac and Blue


Hello Crafters. Welcome!

I have some more cards for you today from the Meg's Garden Forgotten Meadows Collection.


I have used some of the cut and create ephemera from the 12 inch papers and then layers them over the Forgotten Meadows papers.


Both the cards are very simple and elegant. 

I have used some of the lovely fibers and fiber ribbons for both of these cards.


Product list

Gauze
Vintage Brads

I hope you like my cards. Please feel free to leave a comment or questions.


Thursday, 19 March 2015

Meg's Garden: Cards of Forgotten Meadows

Hello crafters and thank you for visiting my blog today. 

I have some step cards I have made with the new collection from Meg's Garden Forgotten Meadows that was released in February .

I really love the ephemera in this collection, which I really wanted to use for the cards. I am not big on the whole having "happy birthday" or " happy anniversary" on the front of the card, I like making generic cards where that information is written in on the inside to the recipient of the card. This gives me free reign to do whatever I want on the outside of the card.


For the first step card I used the Mini/card maker pack of Forgotten Meadows. I used the ephemera from the 12 inch Cut and Create page which has some wonderful ephemera.  I also used some of the Mini Rose Braid at the base of the card and the lovely paper flowers and rose buds.  The small bottles are also available as Meg's Garden and I love adding them to small cards as a bit of a feature. These two I filled with some of the ephemera rolled up. The inking around the edge of the paper is done with Tim Holtz Tea Dye distress ink.


For this second card I have use those wonderful paper leaves and paper flowers again, there is however this time a small white fabric Heirloom flower.  I found a Filigree Oval metal embellishment, a Tim Holtz pen nib and Word Band in my stash which works well. The edges are inked with Pumice Stone to add some contrast but not drown out that lilac in the wisteria on the paper.

I hope you like these two cards and please leave a comment or questions. Thanks for visiting my blog today.

Monday, 2 March 2015

The Individual


Hi readers! A new post for you.

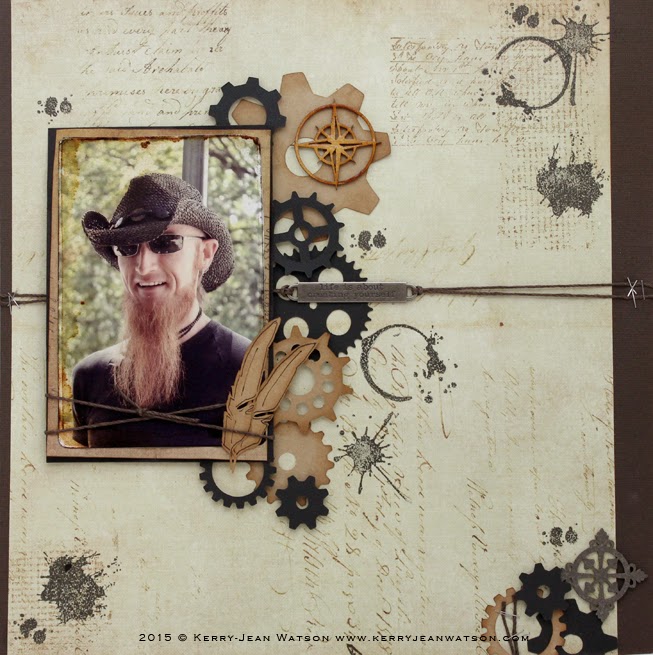
So, another photo of my big brother from his visit in 2014. This layout is one of my favourites. 


Materials list:
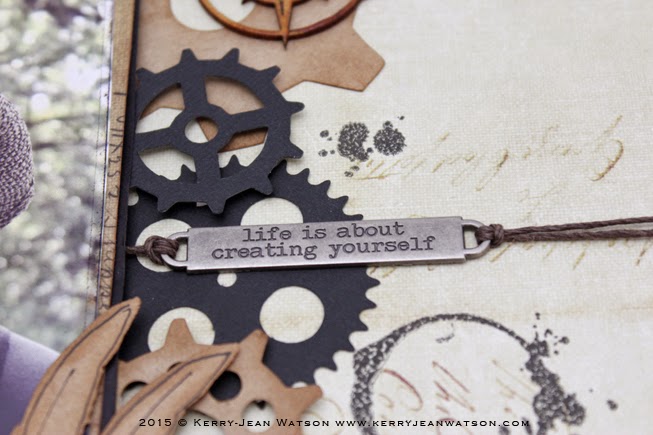
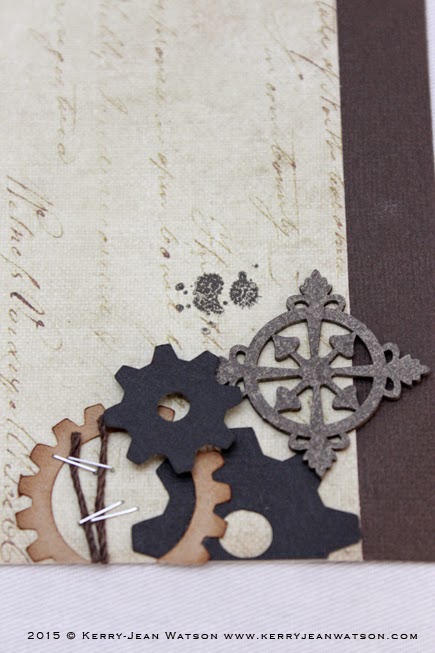
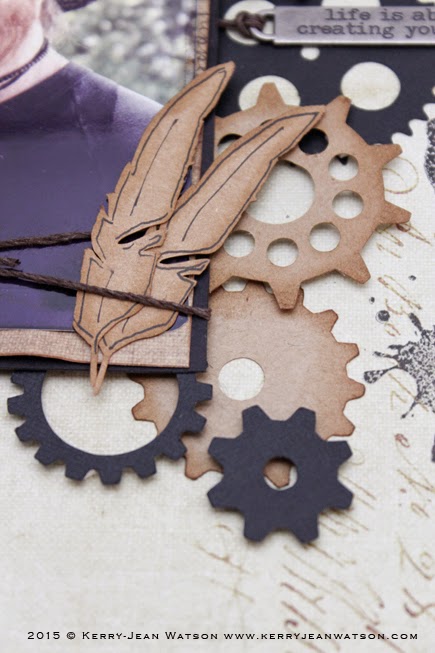
Prima Marketing Ledger Paper, Tim Holtz Ideology Word Band, Kaisercraft texture script stamp, Creative Embellishment Compass Rose, Kaisercraft texture Stains stamp, Imaginarium Design Edward Relief chippy,Hero Arts Silhouette Feather. Various gears and Cogs. Scrap bits of card stock. True Hemp Crafter's Cord.

I also entered this LO in a GEAR it UP challenge over at http://sandee-and-amelie.blogspot.co.at. The challenge can be see over here: http://sandee-and-amelie.blogspot.co.at/2015/03/gear-it-up-march-steampunk-challenge.html

Monday, 23 February 2015

Always looking so mischievous


Hi there readers, welcome again to another post. 

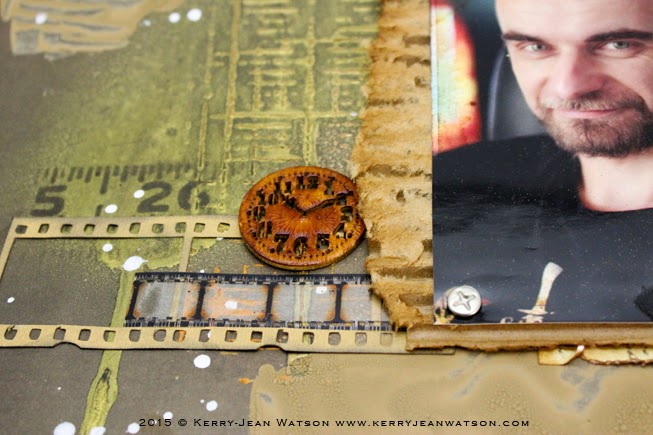
This is another one of those quick layouts I did in December. This is of a really good friend of mine who has a habit of looking a bit mischievous when I get photos of him.


As mentioned previously this layout like the others was done quickly with embellishments I could get my hands on quickly. I used some stenciling with texture paste and also inking. With this layout I also added a bit of crackle paint.  Some of the embellishments are Prima clocks, Creative Embellishments circles chippies, some film strip from Tim Holtz. I also had a Silhouette Cameo film strip in my stash too.

Thursday, 27 November 2014

A Shabby Chic Sherlock book by Watson

Hello crafters and readers!

So I decided I wanted to do something shabby chic'y with my Sherlock Book by Watson and this is what I came up with.


The aim shabby chic, the method of achieving this is done using.

laces
BUTTERFLIES
paper and fabric flowers
ribbon
metal gear embellishments, Tim Holtz gears
Metal Corners
Stamps

Tuesday, 23 September 2014

The 2015 Sherlock Planner by Watson

Hello creative creatures. I have my official first project for The Sherlock Book by Watson to show you. 
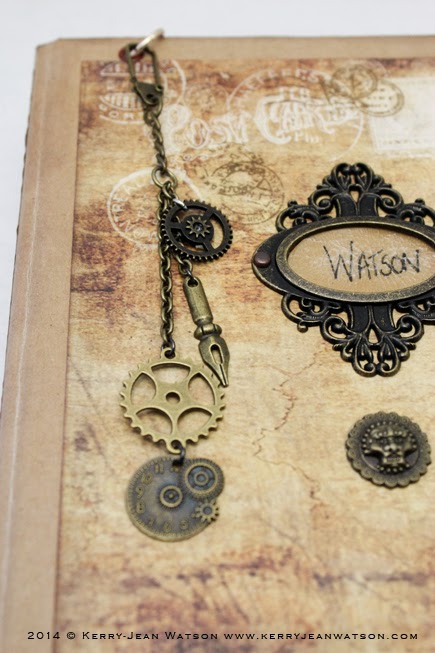
I wanted to make a planner for 2015 and I thought The Sherlock Book would be a great thing to use. I wanted a sturdy cover so I bought a file folder and cut it down to size. This was then covered with a strong craft paper and covered with the kit's cover and then sealed with a varnish. From there I added some Tim Holtz Corners and a bookplate and also one of Meg's lovely Lions Head door knocker charms


The inside of the book was a bit tricky as I wanted a lot of pages for the planner.  I ended up having double the pages. This gave me around 36 pages to have in my planner. 12 were turned into a calendar and the rest were added the the divided sections. The back of the pages (because this was a printed kit rather than the download) I inked misted and splodge to add some distressing. 

The ephemera I added here and there to the sections of the planner to later use which they are held in with paper clips. I also used some extra ephemera from the Vintage Ephemera Packs

The closure of the book is really simple, two islet holes on the front and back cover and some twine attached which just get tied together when the planner is in my bag. 

Here is a video of a flick through of the planner. 


Monday, 15 September 2014

The Gentlemen Mini Album

Hello there crafters. Todaying I am sharing my next project for Meg's Garden. 

I created a mini album using The Gentlemen Collection I design from Meg's Garden. I have been itching to do another mini album but didn't have anything to put in it, until I realised I have a lot of pictures of my archery adventures. This is now my archery brag book. 

There is a youtube video at the end of the blog post which shows the construction and completed project in it. 


I used the Kathy Orta Hidden Hinge mini album method which I really like as you can create so many pockets and interactive pages. 


Inside the front and back covers I created pockets for extra photos and cabinet cards.
Two of the pockets in the mini album were created to hold small booklets for journalling as well, there you will see when you watch the video below.


Other Products
various washi tape
Tim Holtz metal books corners


Thanks for reading and please leave a comment or question.

Monday, 28 July 2014

Gentleman Collection: Tags

Hello all you crafters out there.

Today's post features tags created using my new collection The Gentlemen Collection that has been created through Meg's Garden.
 For all of these tags I have used the mini pack papers from the collection for the bases. 


For the first two tags I wanted to go all out with masculine elements and where else do you go for this but to Tim Holtz. I made my selection from Meg's Gardens very own Tim Holtz Studio category. Choosing Mini Gears and Word Brands, Pen Nibs, Film Strip Ribbon and Ornate Plates. I also threw in a few of Finnabair Vintage Trinkets from Prima that I had left over from a previous project. In the background of the first tag you will also see a little bit of a vintage Advert poking out the side, this is from the Transparencies section titled Ink. I really do love using transparencies in my work, as you can see a clock face which comes from Old World Time Transparency as well. The writing ephemera on the second tag is from the Correspondence Cut & Create. The mini bottles are also available from Meg's Garden where she has a good range to choose from.


These next two tags, as you can see, are a bit different from the first. I have fussy cut the image from the mini pack page stuck them down with some foam tape ( which you can't really tell with these photos). Behind the both cut outs I added the lovely vintage ephemera also from the Correspondence Cut & Create. There is another clock face from Old World Time Transparency and some of Tim Holtz Film Strip Ribbon. I added one of Tim Holtz Keyholes on one and a Pen Nib on the other to enhance to whole look. 


For these last two tags I used similar items to the first 4 but added the corrugated cardboard to add some dimension and again I have snuck in another Tim Holtz Plaquettes to add to the grunge look.