Hello crafters and creatives and welcome to my blog.
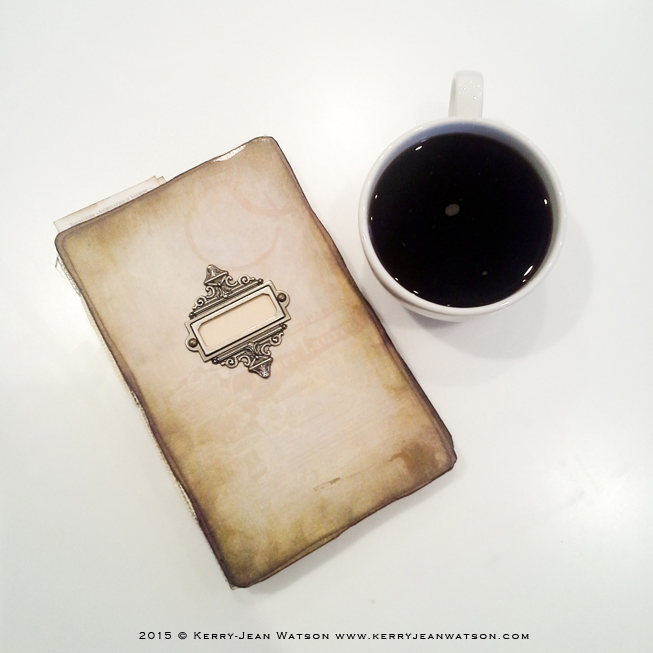
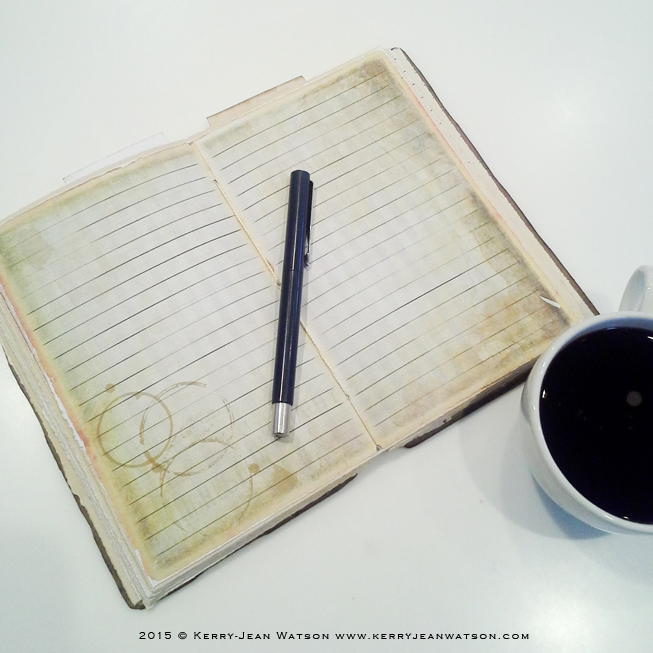
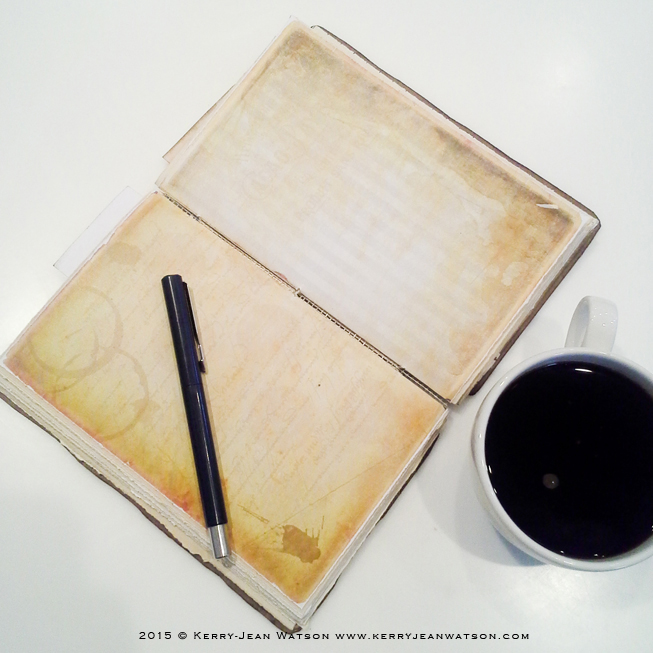
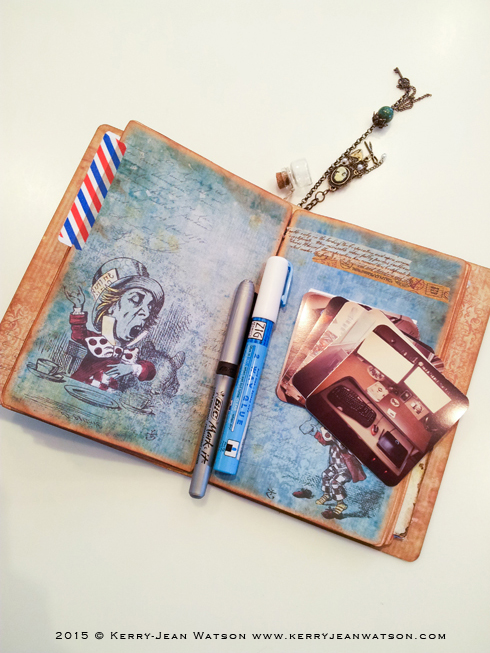
I created a book using my Cafe au Lait book kit printable about year ago and about a week ago I completed putting in photos to make it my most recent photojournal.
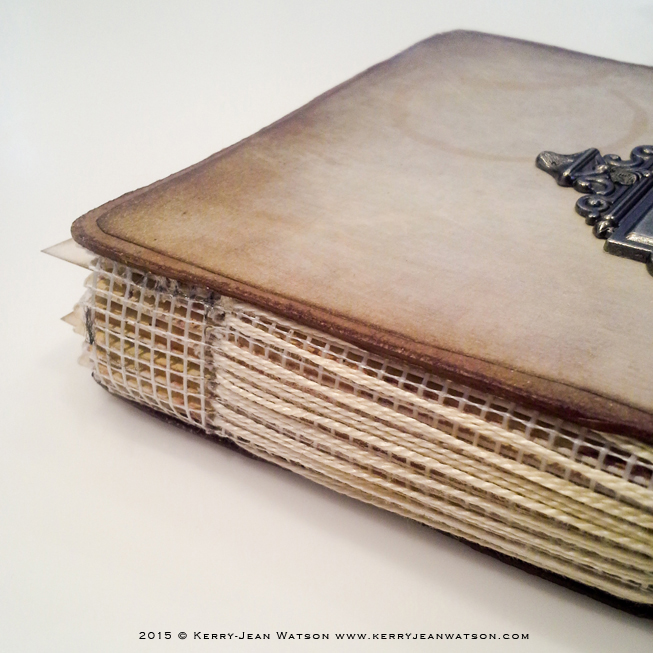
I used a long stitch binding from a Marion Smith project which I liked at first, however realised after using the book and adding pictures to it there was a lot of strain put on the binding. I would use coptic stitch in future.
I hope you liked this project and as usual if you have any questions or comments leave them below.
Hello Hello and welcome. Please sit and sip away at your hot beverage and let me INSPIRE you with projects and ideas!
Last year I got into the Midori Traveler's Notebooks. They have been around for ages, I have just been oblivious. Midori is a brand name for a planner system from Japan, but like many things people have worked out how to make their own. The original Midori is very easy to construct which is what I did after buying a LARGE piece of leather.
Making the booklets or inserts was rather simple too. The best part being that it is all very customisable for your personal needs and requirements.
Then I found that people liked my book kits which needed to be resized to fit the dimensions of the traveler's notebook. So I bring you the next step in PRETTY Planners!
The book kits will be resized to be able to be printed off on A4 paper and turned into inserts. This one is available on the webstore for purchase and I will be making a few from time to time.
So creative ones, Vampire Hunter Diary project, who's up for seeing what I created here?!
Back on Octorber 2013 Michelle Moony, The Paper Addiction, released this video of her Vampire Hunter Journal Found! I loved it! the great thing was it was a free printable what Michelle linked to in her video.
Hover over the "Resources" tab (don't click) and wait for "Downloads" to show. Down the end of the page you will find some variations of the items in this project.
Vampire Sketchbook Pages
Vampire Journal Pages
Vampire maps
There are no instructions or guides just the content. This leaves things open for you to be so very very creative with this project. Which I just love too!
Here is what I did.
Video flip through of the booklets at the end of the post.
This time I worked on a different style of binding, well not entirely different style. I did long stitch through plaster board mesh. Boy was that fun! Not! I had to redo the binding 4 times because I kept making mistakes. But in the end I was Successful! And it looks pretty awesome to boot.
I kept the cover simple and plain because I tend to take my books/journals out with me. If they have stuff on the cover after a couple trips all of the prettiest would have been ripped off. So I went with a more practical approach. A Simple book plate from Tim Holtz
I used both the original pages from the book kit as well as the alternate ones that were released last week. Have a watch of the youtube video of the flip through to see how I did the pages.
Remember to comment or leave a question and as always Happy crafting!
Hello crafters, so nice to see you today. I have a treat for you.
I made up one of the Down the Rabbit Hole book Kits and I just have to share it with you. As you made be aware I am an avid photographer, taking photos throughout my day as positivity markers. This is all part of managing my depression, which is very important to me.
Over this weekend I printed out the Down the Rabbit Hole book kit on my inkjet Epson printer and set to work on putting it together. I was contemplating doing a coptic stitch binding and all that goes will it but decided to just do a simple string binding.
Here is the making of the book in its various stages.
It was great timing too because my current photo journal is almost full and I was in need of a new book. I have a full shelf of completed books now which is wonderful, because I can grab one and sit and have a cup of Chai tea and flip through it and remember happy times.
I would really love to see what you create with this book kit so feel free to share a link to your project in the comments below.
If you have any questions or comments please leave them below and also remember to sign up for my newsletter either through my blog (top right corner) or facebook page for new releases, discount codes for my webstore, and freebie.
Hello creative creatures. I have my official first project for The Sherlock Book by Watson to show you.
I wanted to make a planner for 2015 and I thought The Sherlock Book would be a great thing to use. I wanted a sturdy cover so I bought a file folder and cut it down to size. This was then covered with a strong craft paper and covered with the kit's cover and then sealed with a varnish. From there I added some Tim Holtz Corners and a bookplate and also one of Meg's lovely Lions Head door knocker charms.
The inside of the book was a bit tricky as I wanted a lot of pages for the planner. I ended up having double the pages. This gave me around 36 pages to have in my planner. 12 were turned into a calendar and the rest were added the the divided sections. The back of the pages (because this was a printed kit rather than the download) I inked misted and splodge to add some distressing.
The ephemera I added here and there to the sections of the planner to later use which they are held in with paper clips. I also used some extra ephemera from the Vintage Ephemera Packs
The closure of the book is really simple, two islet holes on the front and back cover and some twine attached which just get tied together when the planner is in my bag.
Here is a video of a flick through of the planner.