Thursday 12 July 2012

Friday Card Class: Spring Card

A couple weeks back we worked on Spring Cards, which is basically a self standing card using Origami techniques really. The one I made in class was sent to a friend who's husband had passed away.

Please see my Instagram for the original.

This one I made as a practice one

Kaisercraft June Scrap and Chat

So the last Saturday of June was the next installment of the Scrap n Chat technique classes. This session was dedicated to flower making, which many of us are very keen on learning rather than buying
We started off with some basic flowers, and then got in to the more complex bloomes, working our way up to the Tim Holtz Rose (which there is not a picture of I am sorry). My favourite would have the be the last one, it was SO pretty I couldn't put it on a card on the day, have saved it for another project.


Last weeks Card: Joy Fold

Firstly, Many people as what does "joy fold" mean. Here is the explanation:

That card was created by Valerie Stangle, and here is her explanation for the name of the card

"One day I made a traditional folding card utilizing this fun fold on the front of the card and posted it on a popular stamping website. It became known as the Joy-fold because that card was intended for my good friend, Joy, as I stamped her name on the front of the card."

From this site www.scor-pal.com/projects3/index_files/Page497.htm

Here is my version of the card.


Ebook Custom Cover

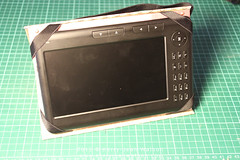
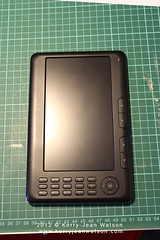
I have had an ebook reader for about a year, luckily I am able to also watch video on it as well. I made a cover for the reader when I first got it, but soon realised that it was a bit awkward to watch video on it when out at a cafe or shopping center as I would have to hold the reader. So I set out to design and make an A-frame ebook cover.


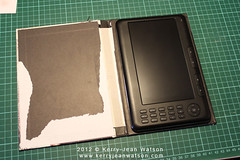
I had an old diary cover that I notices my reader would fit very comfortably into after ripping out all the internal pages

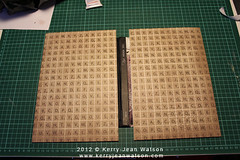
I made a selection of paper to cover the out side of the cover, I didn't have to do this but I wanted to make the cover look nice and clean.


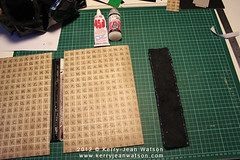
I found some lovely soft leather that I added down the spine of the cover.


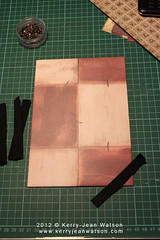
As I wanted the ebook to be able to stand on its own I knew I needed to have the reader attached to a backboard that would be hinged on the back on the cover, to be able to remove the ebook from the cover for I secured elastic on each corner of the back board to hold the ebook in place. To keep the cover closed while the ebook would be in my bag I also added an elastic strap around the length of the cover.


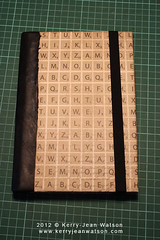
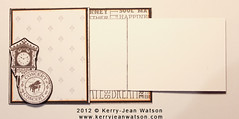
And here we have the final product. I am very pleased with this project, as it has been sitting in my "to do" box for months.